Jvc FS-H100J Manuel d'utilisateur
Naviguer en ligne ou télécharger Manuel d'utilisateur pour Acoustique Jvc FS-H100J. JVC FS-H100J User Manual Manuel d'utilisatio
- Page / 28
- Table des matières
- DEPANNAGE
- MARQUE LIVRES
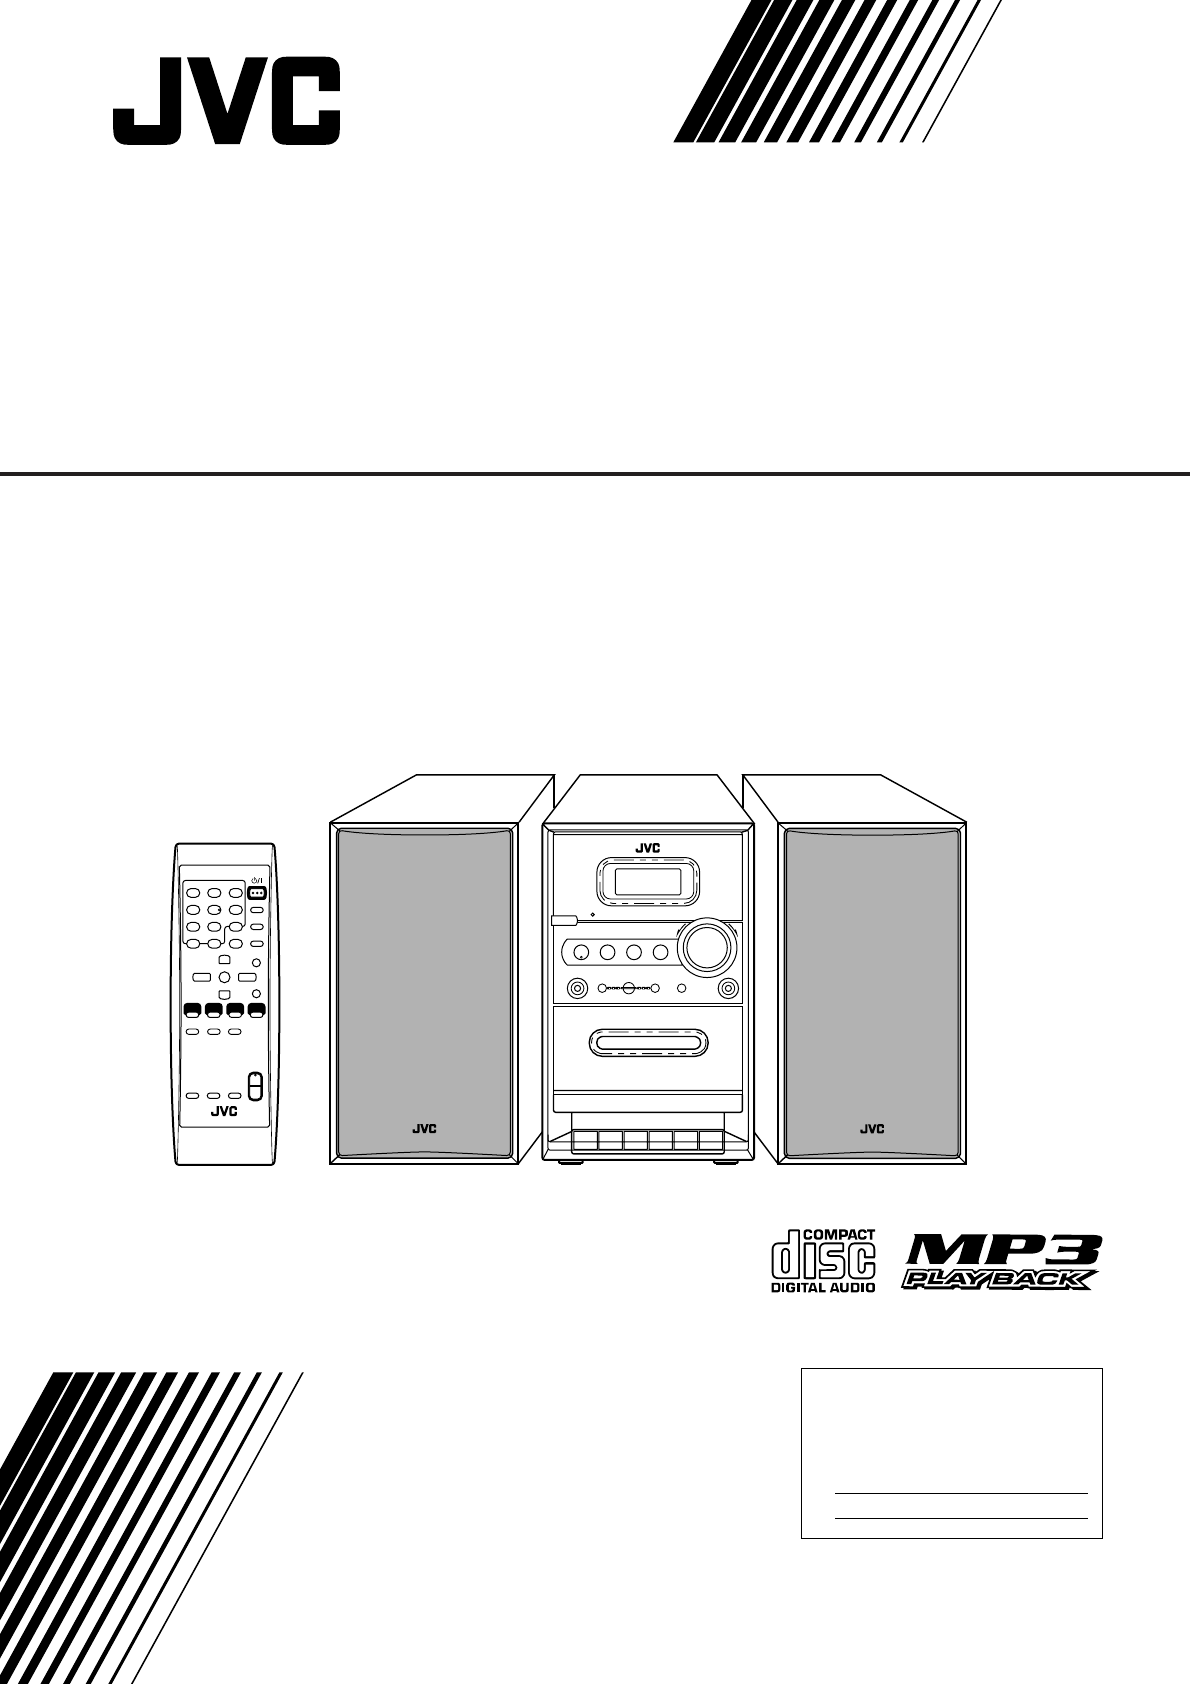
- COMPACT COMPONENT SYSTEM 1
- Warnings, Cautions and Others 2
- Contents 3
- Introduction 4
- Main Unit 5
- Remote Control 7
- Getting Started 8
- Connecting Other Equipment 9
- STANDBY/ON 10
- Selecting the Source 11
- Adjusting the Volume 11
- Fade Muting 11
- Selecting the Sound Modes 11
- Tuning in to a Station 12
- Presetting Stations 12
- Tuning in to a Preset Station 13
- Playing Back Discs 14
- Basic Disc Operations 15
- —Program Play 15
- (continued) 16
- Playing Back Tapes 17
- Using an External Equipment 18
- Recording 19
- Recording (continued) 20
- Using the Timers 21
- Using the Timers (continued) 22
- Maintenance 23
- Troubleshooting 24
- Specifications 25
- LIMITED WARRANTY 26
- Authorized Service Centers 27
Résumé du contenu
LVT1190-001B[J]INSTRUCTIONSCOMPACT COMPONENT SYSTEMFS-H100–Consists of CA-FSH100 and SP-FSH100For Customer Use:Enter below the Model No. and Serial No
8Basic and Common OperationsSetting the ClockBefore operating the unit any further, first set the unit’s clock.When you plug in the power cord, “AM12:
9Selecting the SourceTo select the source, press CD 6, TAPE, FM/AM, orAUX.• When you select CD as the source, playback startsautomatically.To operate
10On the remote control ONLY:1Tune in to the station you want to preset.• See “Tuning in to a Station” on the left column.2Press PLAY MODE.The preset
11Tuning in to a Preset StationOn the remote control ONLY:1Press FM/AM to select either “FM”or “AM.”The unit automatically turns on and tunes in tothe
122Place a disc correctlywith its label side up,then press down on theportions around thedisc’s center hole untilyou hear a click.3Close the disc cove
13Basic Disc OperationsWhile playing a disc, you can do the following operations.To stop playing for a momentDuring play, press CD 3/8.While pausing,
14Playing at Random—Random PlayYou can play the tracks at random.On the remote control ONLY:Press PLAY MODE during playing.The RANDOM indicator lights
154Press TAPE.The unit automatically turns on and thesource changes to the tape deck.• You can select to the tape by pressingTAPE on the remote contro
16Listening to the External EquipmentYou can listen to the external equipment such as MDrecorder, cassette deck, or other auxiliary.• First, make sure
17IMPORTANT:• It should be noted that it may be unlawful to re-recordpre-recorded tapes, records, or discs without theconsent of the owner of copyrigh
G-1Warnings, Cautions and Others CAUTION: TO REDUCE THE RISK OF ELECTRIC SHOCK. DO NOT REMOVE COVER (OR BACK)
18You cannot press ‡ (recording) in the following cases:• If no cassette is inserted.• If a protected cassette is inserted.To stop recording for a mom
193Press SET to set the on-time you wantthe unit to turn on.The hour indication starts flashing on thedisplay.(1) Press ¢ or 4 to set the hour, thenpr
20To deactivate the timer temporarily,(1) Press CLOCK/TIMER repeatedly to select theTimer Number indicator to cancel.The on-time appears and the Timer
21MaintenanceTo get the best performance of the unit, keep your discs, tapes and mechanism clean.General NotesIn general, you will have the best perfo
22If you are having a problem with your unit, check this list for a possible solution before calling for service.If you cannot solve the problem from
23Amplifier Section—CA-FSH100Output Power:12.5 W per channel, min. RMS, driven into 6 Ω at 1kHz with no more than 10% total harmonic distortion.Speake
THIS LIMITED WARRANTY IS VALID ONLY IN THE FIFTY (50) UNITED STATES, THE DISTRICT OF COLUMBIA ANDIN COMMONWEALTH OF PUERTO RICO.WHAT WE WILL DO:If thi
BT-51001-5(0301)QUALITY SERVICEHOW TO LOCATE YOUR JVC SERVICE CENTERDear Customer,In order to receive the most satisfaction from your purchase,please
VICTOR COMPANY OF JAPAN, LIMITEDEN0204AIMMDWBET© 2004 VICTOR COMPANY OF JAPAN, LIMITEDFS-H100COMPACT COMPONENT SYSTEMFS-H100[J]cover2.p65 04.1.30, 5:1
1ContentsIntroduction ... 2Location of the Buttons and Controls ...
2Power sources• When unplugging the unit from the wall outlet, always pullon the plug, not the AC power cord.DO NOT handle the AC power cord with weth
3Location of the Buttons and ControlsBecome familiar with the buttons and controls on your unit.Main UnitOPENCOMPACTDIGITAL AUDIO12COMPACTDIGITAL AUDI
4Display windowDisplay window1 SLEEP indicator2 (timer) indicator3 Timer number indicator4 MP3 indicator5 Repeat indicators• , ALL6 PRGM (program) in
5Remote ControlSee pages in parentheses for details.COMPACTDIGITAL AUDIOSTANDBYCDPHONES DOWN4#/87¢TIMERUP AUXTAPE FM/AM AUXVOLUME+–When using the remo
6Getting StartedUnpackingAfter unpacking, check to be sure that you have all thefollowing items.The number in parentheses indicates the quantity of ea
7To connect AM and FM antennas1Connect the supplied AM loop antenna to theAM LOOP terminal.Place the antenna away from the unit and adjust itsposition
Produits connexes et manuels pour Acoustique Jvc FS-H100J

 (40 pages)
(28 pages)
(64 pages)
(58 pages)
(57 pages)
(52 pages)
(38 pages)
(24 pages)
(76 pages)
(40 pages)
(28 pages)
(64 pages)
(58 pages)
(57 pages)
(52 pages)
(38 pages)
(24 pages)
(76 pages)


 (201 pages)
© 2020, manymanuals.fr. Tous droits réservés | 1.571 s |
 Manymanuals.com
 Manymanuals.de
 Manymanuals.fr
 Manymanuals.it
 Manymanuals.pl
 Manymanuals.cz
 Manymanuals.es
 Manymanuals-pt.com
Commentaires sur ces manuels